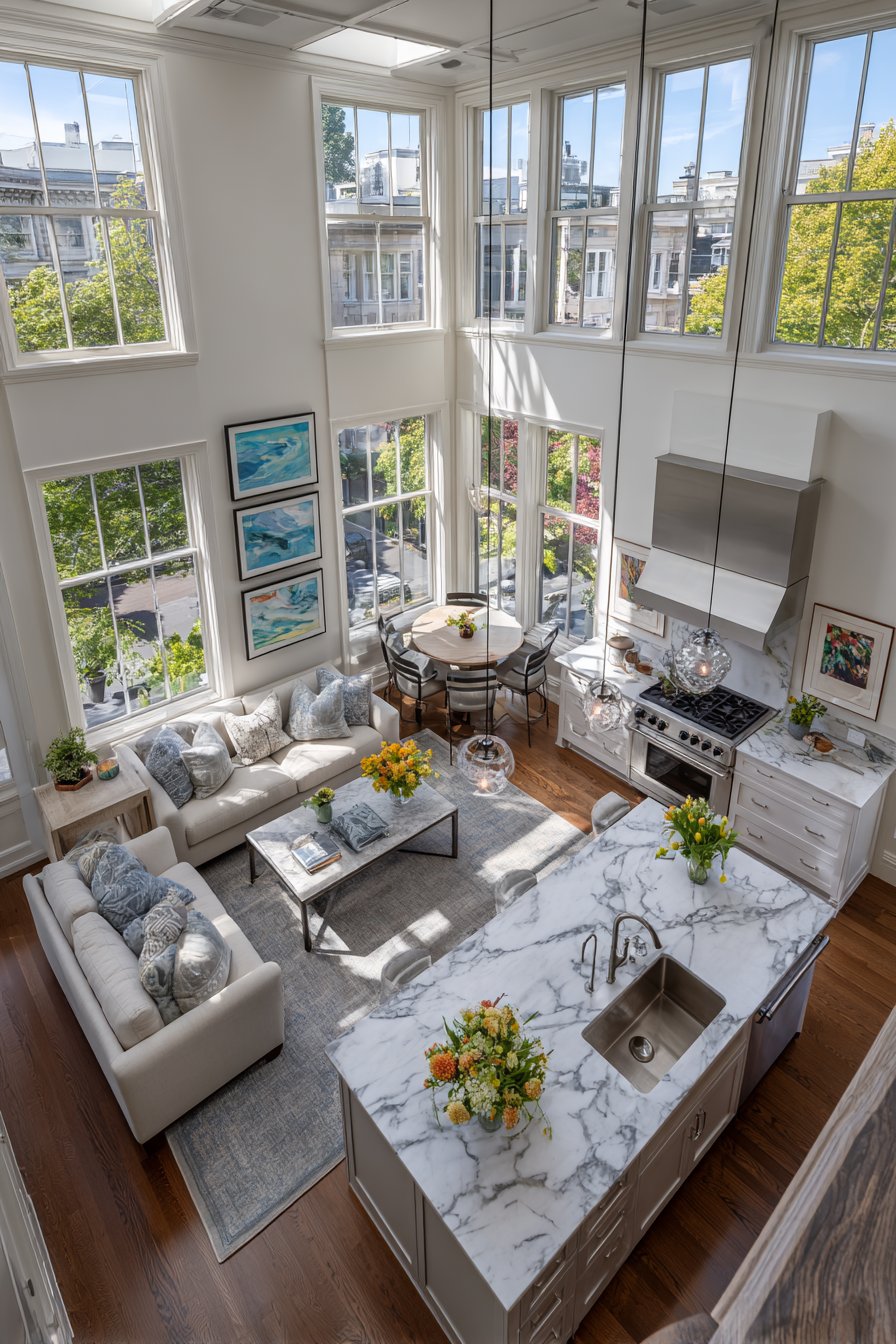
Kitchen walls face unique challenges that other rooms simply don’t encounter. The combination of cooking heat, steam, and airborne grease creates an environment that can quickly damage your carefully chosen wall decor. Yet a beautifully decorated kitchen is essential for creating a space where you actually want to spend time cooking and gathering with loved ones.
The good news is that protecting your kitchen wall art from grease damage doesn’t require sacrificing style or spending a fortune on specialized solutions. With the right techniques, materials, and placement strategies, you can display gorgeous artwork, photographs, and decorative pieces that withstand the harsh kitchen environment while enhancing your space’s aesthetic appeal.
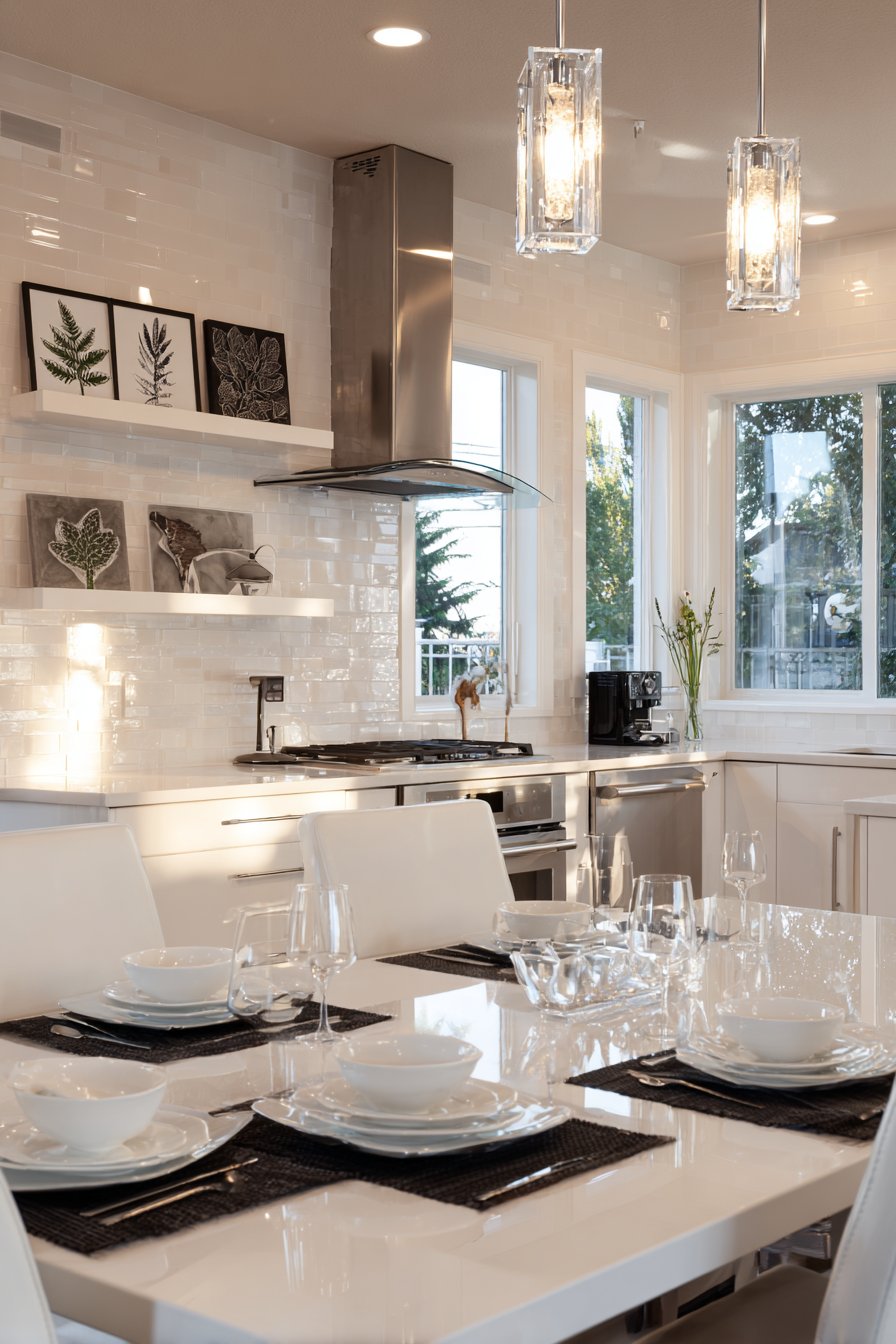
This comprehensive guide explores six proven methods for hanging kitchen wall decor that stays beautiful despite daily cooking activities. From choosing the right protective materials to strategic placement and maintenance routines, you’ll discover everything needed to create a kitchen gallery wall that looks fresh for years to come.
1. Choose Grease-Resistant Frame Materials

The foundation of grease-proof wall decor starts with selecting frames constructed from materials that naturally resist oil accumulation and moisture damage. Wood frames, while beautiful in other rooms, absorb grease particles and become discolored over time in kitchen environments. Metal and sealed composite materials offer far superior protection against the elements.
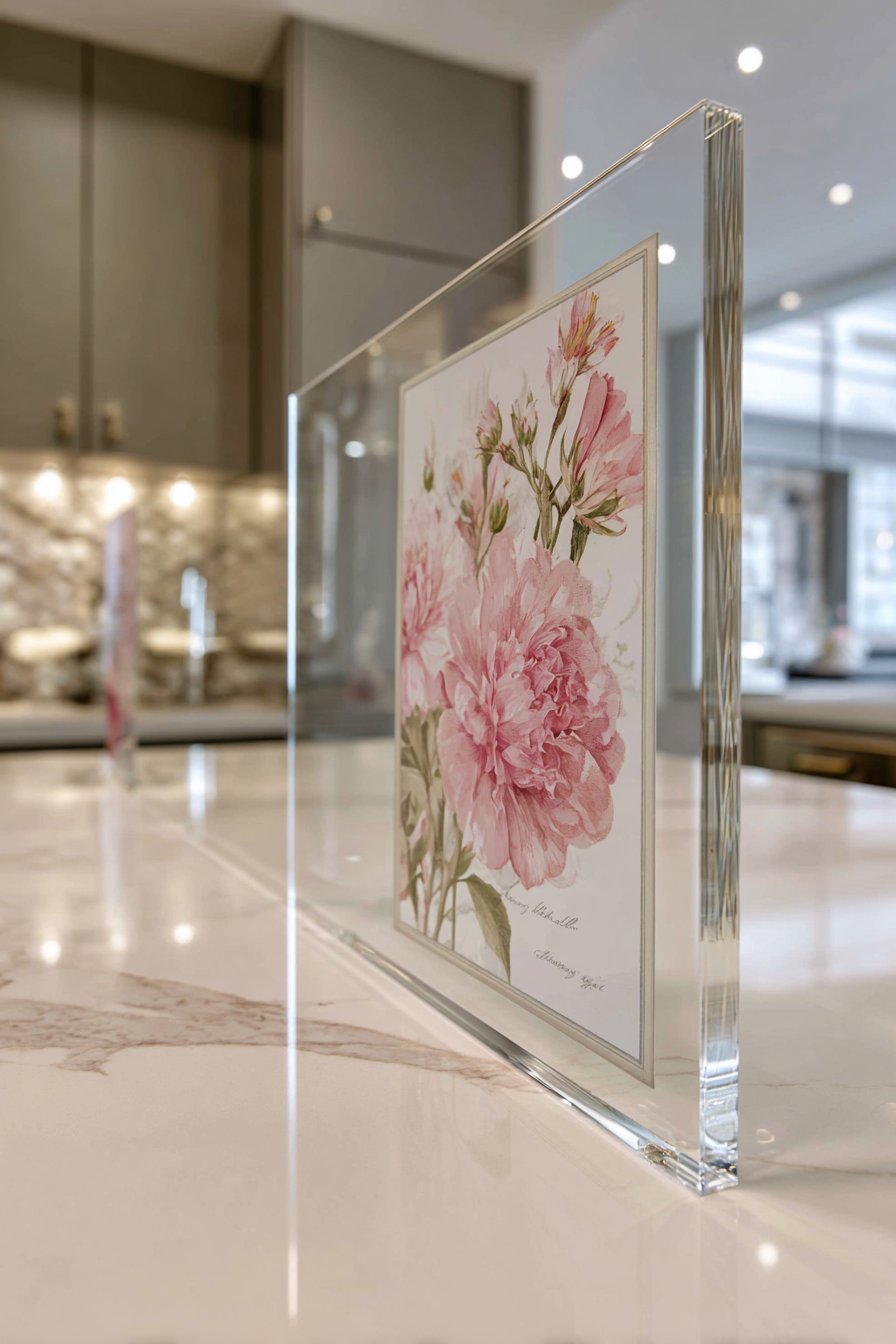
Aluminum, stainless steel, and powder-coated metal frames provide excellent grease resistance while offering contemporary styling that complements modern kitchens. These materials wipe clean with simple soap and water, maintaining their appearance with minimal effort. Glass and acrylic frames also work exceptionally well, as their smooth surfaces prevent grease from penetrating the material itself.
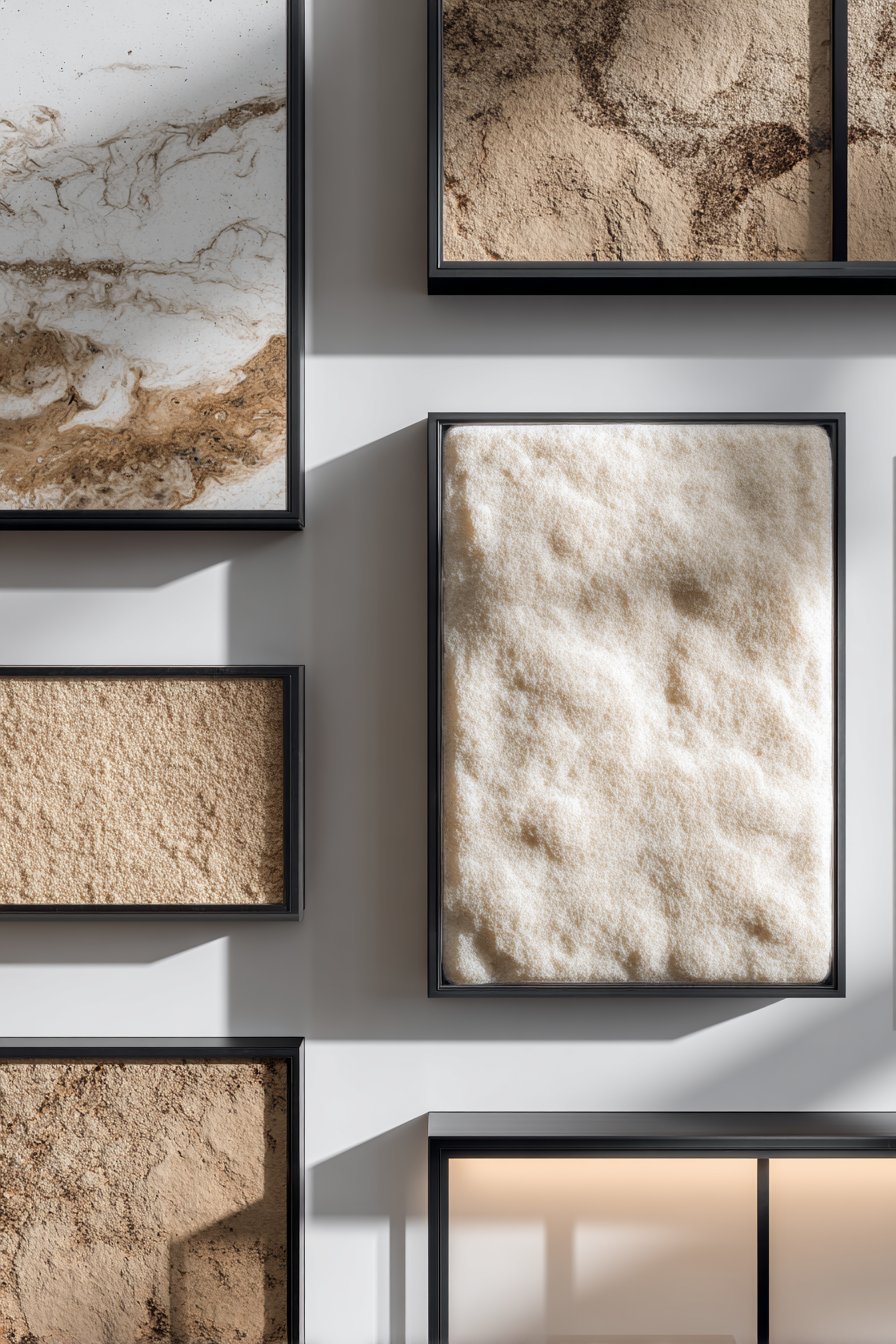
When selecting frames, prioritize those with sealed backs and protective glazing over the artwork itself. This dual-layer protection prevents grease from reaching your prints or paintings through gaps in the frame construction. Sealed frames also protect against moisture infiltration, which commonly occurs in kitchens from steam and humidity.
- Look for frames labeled as moisture-resistant or specifically designed for bathroom and kitchen use
- Choose metal frames with powder coating rather than painted finishes that can chip and peel
- Select frames with UV-protective glass to prevent fading from both sunlight and heat exposure
- Avoid ornate frames with deep grooves and crevices where grease accumulates and becomes difficult to clean
- Consider frameless acrylic mounting systems that minimize surfaces where grease can collect
- Invest in quality frame construction with tight seals at corners and backing boards
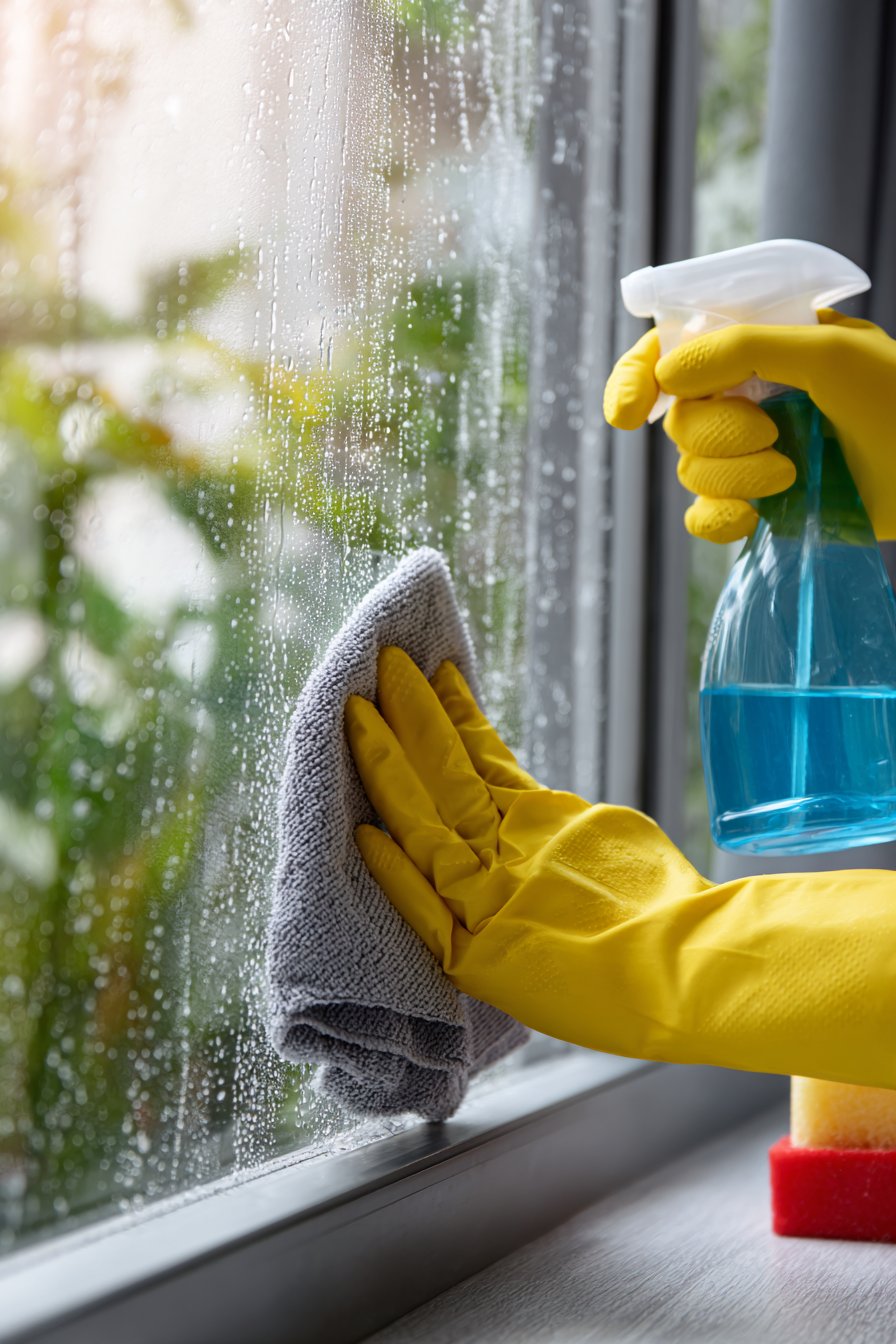
2. Apply Protective Barrier Sprays and Sealants
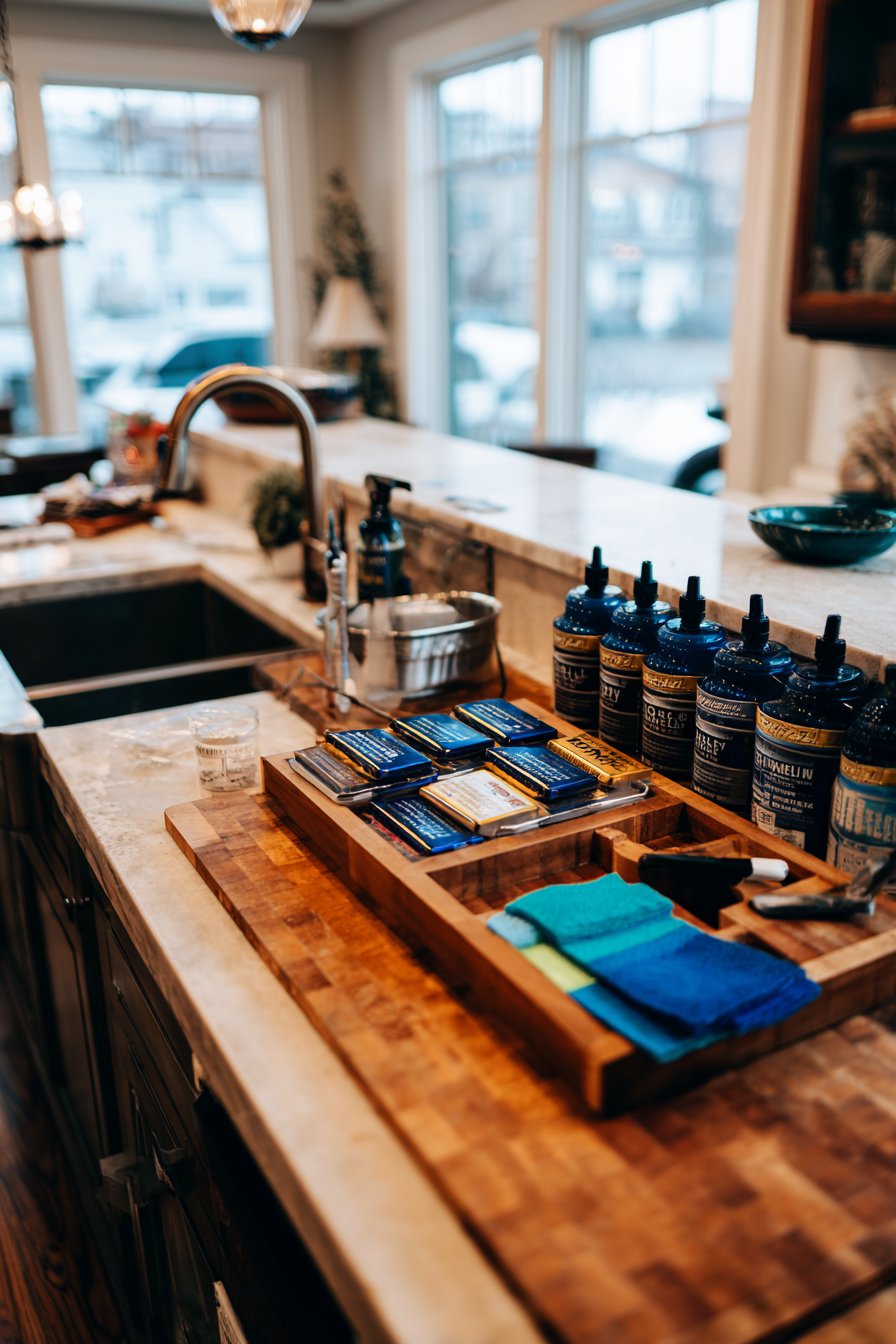
Creating an invisible protective barrier on your frames and wall decor dramatically reduces grease adhesion and simplifies cleaning. Several specialty products designed for kitchen environments form a microscopic shield that causes grease droplets to bead up rather than penetrate surfaces. These sealants work on various materials including wood, metal, canvas, and paper.
Food-safe acrylic sealers provide excellent protection for porous surfaces like unfinished wood frames or canvas prints. Apply these products in thin, even coats following manufacturer instructions, typically requiring 24-48 hours of curing time before hanging. The sealed surface becomes significantly easier to wipe clean while maintaining the original appearance of your decor.
For maximum protection, consider automotive-grade ceramic coating products designed for surfaces exposed to oil and grease. While more expensive than standard sealers, these advanced formulas create an incredibly durable barrier that lasts for years without reapplication. They work particularly well on metal frames and glass surfaces in high-traffic cooking areas.
- Clean frames thoroughly with degreaser before applying any protective coating
- Test sealants on inconspicuous areas first to ensure they don’t alter appearance
- Apply protective sprays outdoors or in well-ventilated areas to avoid fumes
- Reapply water-based sealants annually or when you notice increased grease adhesion
- Use microfiber cloths for application to avoid streaks and ensure even coverage
- Consider professional-grade products from restaurant supply stores for superior protection
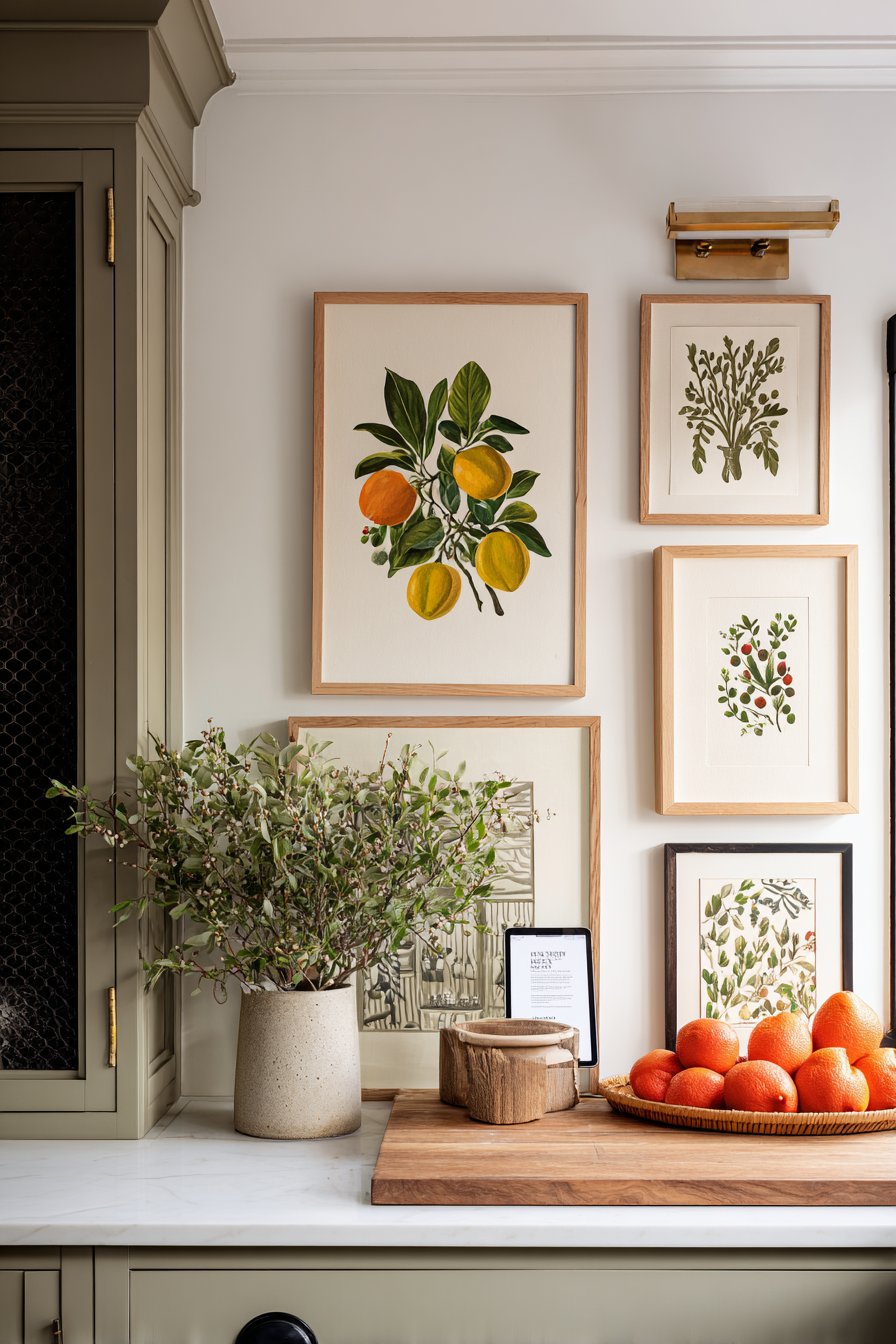
3. Position Decor Away From Direct Cooking Zones
Strategic placement is perhaps the most effective prevention method against grease damage. Understanding how cooking grease travels through your kitchen allows you to identify safe zones where wall decor remains protected while still contributing to your overall design. Grease particles become airborne when oil heats above 350°F, then settle on surfaces throughout the room.
The area directly above and immediately beside your stovetop receives the heaviest grease exposure. Avoid hanging valuable or difficult-to-clean pieces within a 48-inch radius of cooking surfaces. Instead, position these items on walls perpendicular to your range or in breakfast nook areas that remain outside the primary cooking zone.
Consider your kitchen’s ventilation patterns when planning decor placement. Grease naturally travels toward exhaust fans and open windows, making walls along this path more susceptible to buildup. Walls opposite your cooking area or those behind peninsula counters typically experience significantly less grease accumulation, making them ideal locations for your favorite pieces.
- Hang valuable or difficult-to-clean artwork on walls furthest from cooking surfaces
- Position decor at least 60 inches away from stovetops for maximum protection
- Use less precious pieces like metal signs or easily washable prints near cooking areas
- Install exhaust fans that vent outside rather than recirculating to reduce airborne grease
- Create gallery walls in dining areas or breakfast nooks for safer display zones
- Reserve the area directly above stoves for functional items like pot racks rather than decorative pieces
4. Install Removable Glass or Acrylic Shields
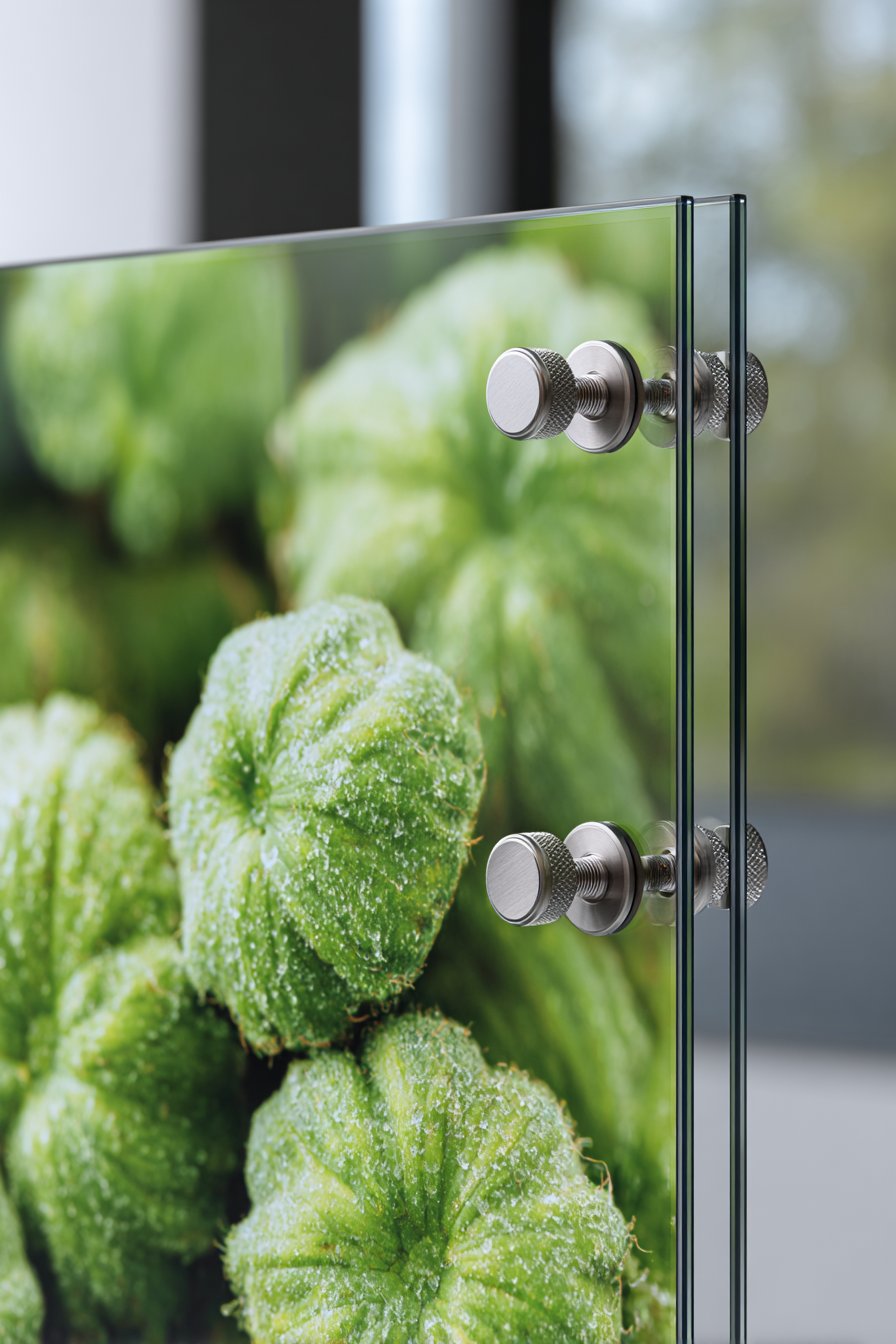
Physical barriers provide an extra layer of defense between your wall decor and airborne grease particles. Clear acrylic or glass panels mounted slightly in front of your artwork create a protective shield that’s virtually invisible while catching grease before it reaches your frames. This solution works particularly well for high-value pieces you want to display despite challenging locations.
Custom-cut acrylic sheets from hardware stores cost surprisingly little and install easily using standoff mounting hardware. Position the protective panel approximately 1-2 inches in front of your framed art, creating an air gap that allows easy removal for cleaning. The acrylic surface wipes clean in seconds, protecting the artwork behind it from any contact with grease or moisture.
Museum-quality UV-filtering acrylic panels serve double duty by protecting against both grease and light damage. While more expensive than standard acrylic, these specialized panels prevent fading and yellowing of your artwork over time. For kitchens with significant natural light, this investment pays dividends in preserved artwork quality.
- Purchase acrylic sheets in 1/8-inch thickness for adequate protection without excessive weight
- Use polished-edge acrylic for a more finished appearance than rough-cut edges
- Install removable mounting systems that allow easy panel removal for cleaning
- Clean acrylic shields weekly with microfiber cloths and acrylic-safe cleaners
- Avoid using paper towels on acrylic as they can cause fine scratches over time
- Consider hinged protective panels for very large pieces to simplify cleaning access
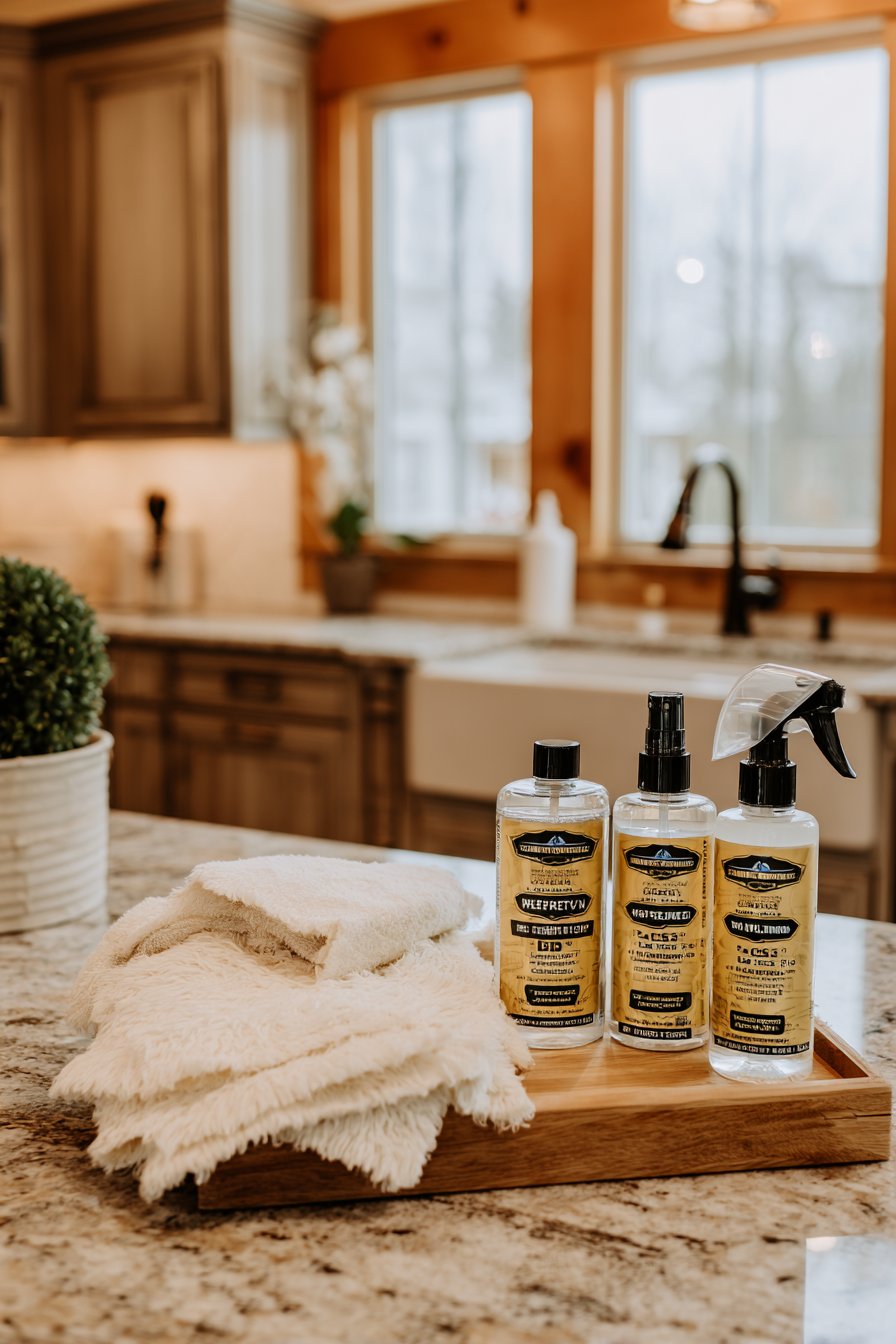
5. Implement Weekly Cleaning Protocols
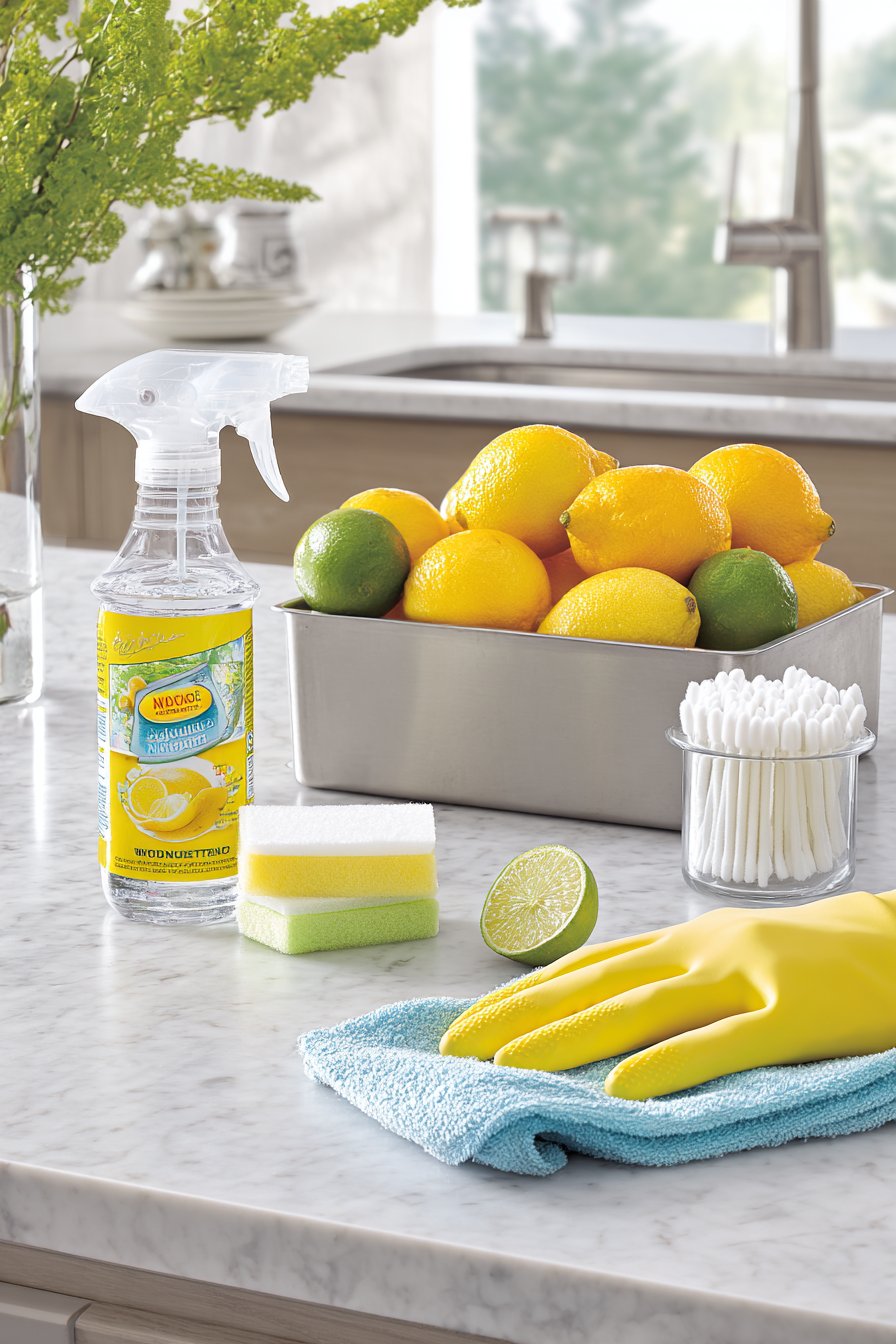
Even with preventive measures, some grease accumulation inevitably occurs in active kitchens. Establishing a consistent cleaning routine prevents buildup that becomes difficult to remove and causes permanent damage. Weekly maintenance takes just minutes but makes the difference between pristine artwork and dingy, grease-coated frames.
The key to effective cleaning is using the right products and techniques for each material. Grease-cutting dish soap diluted in warm water works excellently for most frame materials. Apply with a slightly damp microfiber cloth, wiping in consistent directions to avoid streaking. Never spray liquid directly onto frames as moisture can seep behind glass and damage artwork.
For stubborn grease deposits, specialized citrus-based degreasers designed for kitchen surfaces remove buildup without harsh chemicals that might damage frame finishes. Test any new cleaning product on inconspicuous areas first. Always follow cleaning with a dry cloth to remove moisture and prevent water spots from forming on glass or acrylic surfaces.
- Schedule kitchen decor cleaning on the same day as other kitchen deep-cleaning tasks
- Keep a dedicated microfiber cloth and cleaning solution easily accessible under the sink
- Wipe frames from top to bottom to prevent drips on already-cleaned areas
- Use cotton swabs dipped in cleaning solution for detailed frame corners and crevices
- Dry frames immediately after cleaning to prevent water spots and streaking
- Remove and deep-clean severely affected pieces quarterly using appropriate restoration techniques
6. Utilize Command Strips for Easy Rotation Systems
Creating a rotation system for your kitchen wall decor allows you to deep-clean pieces regularly while maintaining visual interest. Command strips and similar damage-free hanging systems make swapping artwork effortless, encouraging you to keep decor fresh and clean. This approach also lets you display seasonal pieces or rotate favorites without commitment.
Command picture hanging strips support substantial weight when applied correctly while releasing cleanly from walls without damage. Purchase strips rated for twice your frame weight to ensure secure mounting. The key advantage in kitchens is the ability to remove frames monthly for thorough cleaning, then reinstall them in minutes without tools or wall repairs.
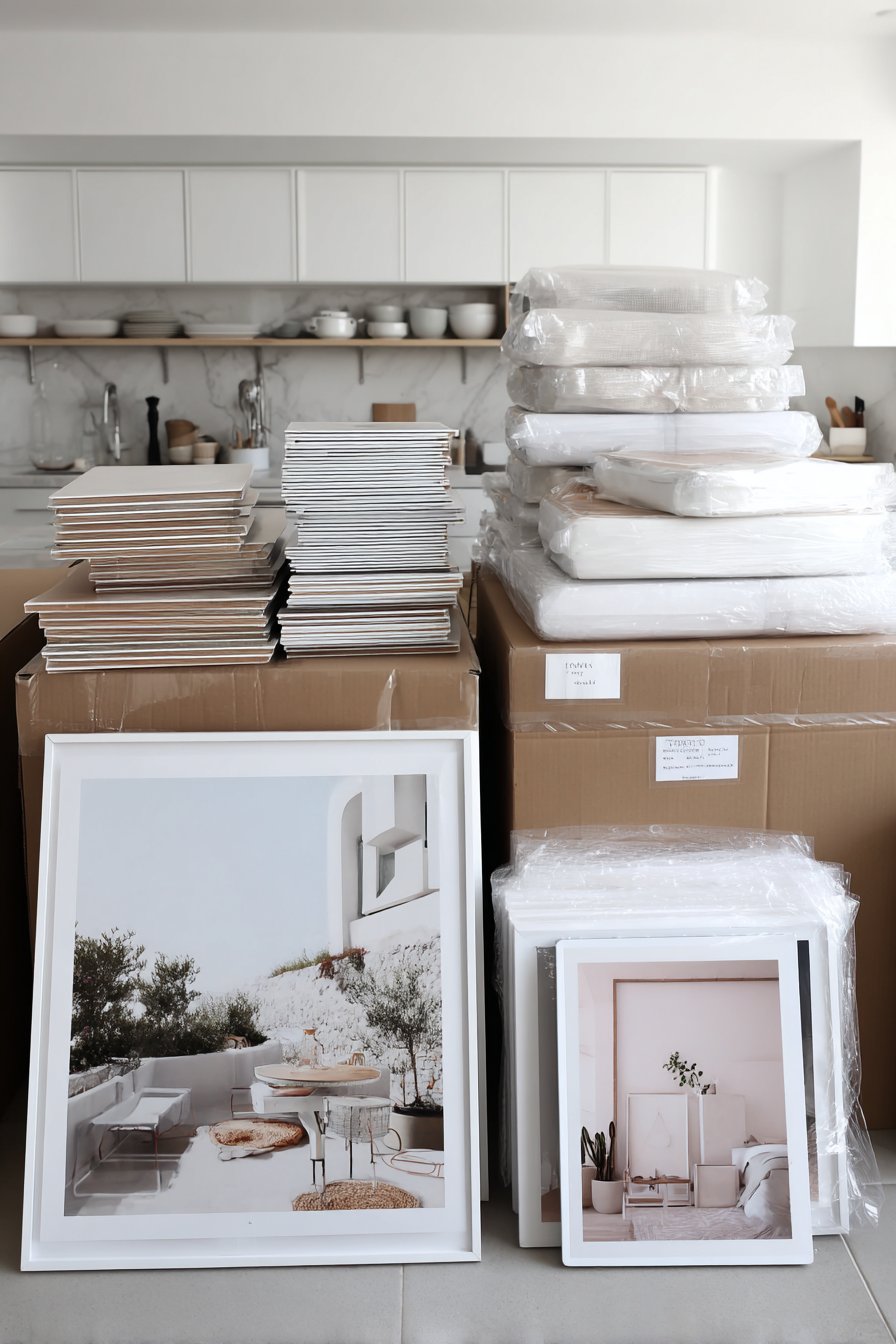
Develop a curated collection of kitchen-appropriate artwork that you rotate quarterly or seasonally. This system means each piece hangs for limited periods, reducing total grease exposure while allowing thorough cleaning before rehanging. Store non-displayed pieces in plastic sleeves or protective boxes to keep them pristine until their next rotation.
- Follow Command strip package instructions precisely regarding weight limits and wall preparation
- Clean walls thoroughly with rubbing alcohol before applying adhesive strips
- Press strips firmly for 30 seconds to ensure strong bonding with both frame and wall
- Wait one hour before hanging frames to allow adhesive full curing time
- Store off-season pieces in acid-free tissue within plastic containers to prevent damage
- Create a digital catalog of your rotation pieces to plan displays and track cleaning schedules
Conclusion
Protecting your kitchen wall decor from grease damage requires a multi-layered approach combining smart material choices, strategic placement, protective barriers, and consistent maintenance. By implementing these six proven strategies, you create a kitchen environment where beautiful wall art thrives despite challenging conditions. The effort invested in prevention saves countless hours of restoration work and preserves your decor investment.
Remember that even in the busiest cooking spaces, thoughtfully selected and properly protected artwork enhances your daily experience. Don’t let fear of grease damage keep your kitchen walls bare. With the right techniques, you can enjoy a beautifully decorated space that reflects your personal style while standing up to the realities of an active kitchen lifestyle.
"As an Amazon Associate, I earn from qualifying purchases."